
January Nail Art for Beginners: Simple Designs to Practice at Home
January Nail Art for Beginners is all about small, forgiving designs you can practice at home with regular polish and two simple tools. You do not need gel, a lamp, or years of experience. A dusty-blue base, a white dotting tool, and a steady table are enough to start, and every design below keeps the decoration small so a short nail still looks neat.
Start with one accent nail and leave the rest plain. Paint the design on your ring finger first, and only repeat it on more fingers when the movement feels easy. That is how January nail art for beginners stays fun instead of frustrating, and how a single evening of practice turns into a manicure you actually want to wear.
Find Your January Nail Mood
Pick your first design by how much time and patience you have today, not by how fancy it looks. The table below matches each mood to a design, so you can start with the easiest one and work your way up to linework when your hand feels steady.
| Design | Base Color | Best For |
|---|---|---|
| Scattered Snow Dots | Dusty blue | First-timers |
| Dotted Winter Tips | Sheer pink | Practicing spacing |
| Three-Stroke Winter Star | Navy | Linework practice |
| Frosted Pine | Forest green | A bold winter look |
| Snowman Accent | Sky blue | A playful January manicure |
| Candy Cane Stripes | Classic red | A festive finish |
1. Scattered Snow Dots on Dusty Blue
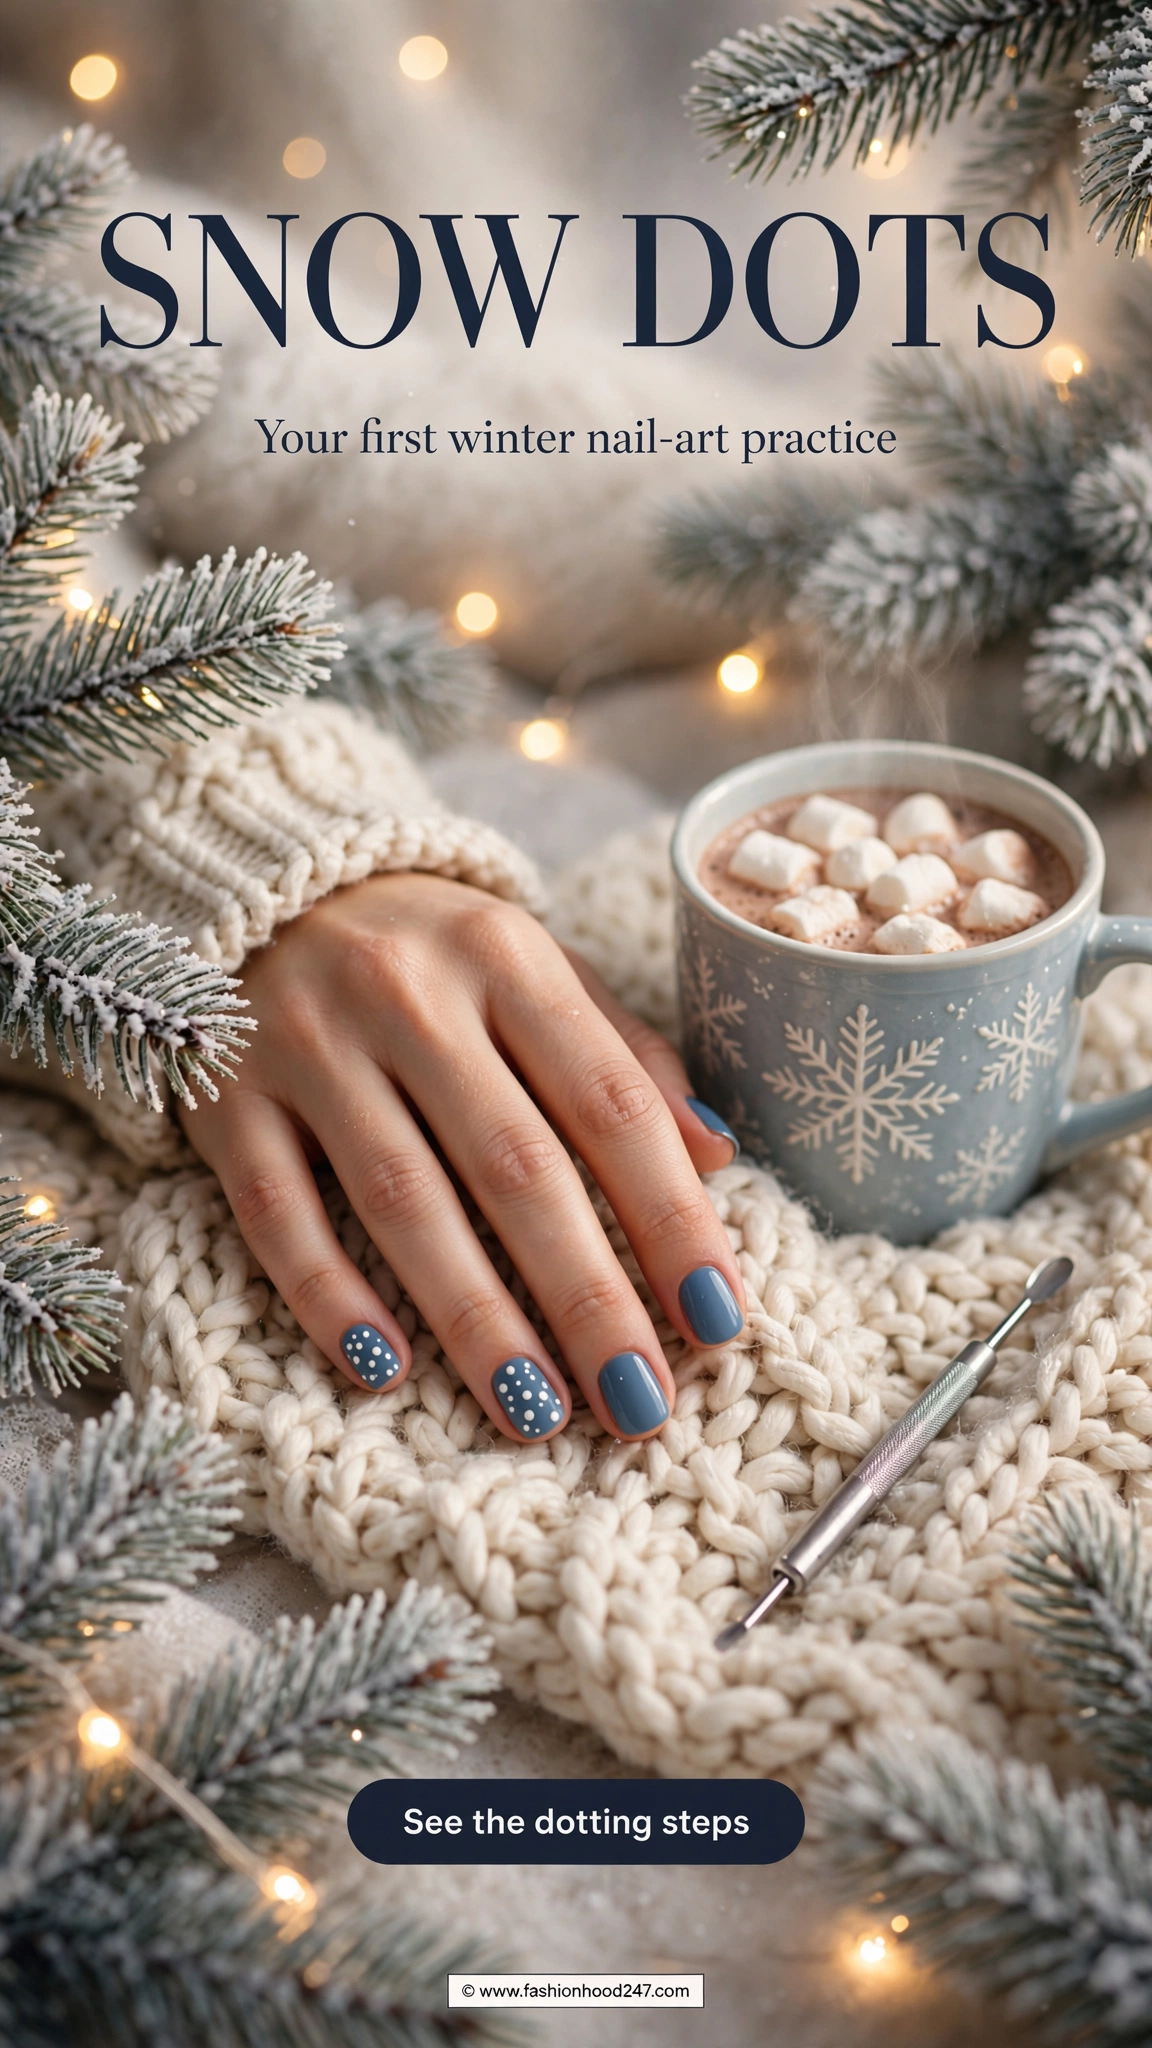
This is the most forgiving place to start because the dots do not need to form a pattern. A dusty-blue background gives the white enough contrast, while open space keeps a short nail from looking crowded. If you are new to January Nail Art for Beginners, this is the design to try first, because uneven spacing belongs in the design and no one can tell a mistake from an intention.
Paint your base dusty blue and let it dry as directed. Touch the small ball of the dotting tool into white polish and test one dot on a practice tip to check the size. Lower the tool straight onto the nail, then lift it straight off without dragging it sideways. Add four more dots in uneven positions, leaving blue visible between them, and seal with a compatible top coat once the white is dry. Begin on the ring finger only, and if five dots crowd your nail, stop at three.
2. Dotted Winter Tips Over Sheer Pink
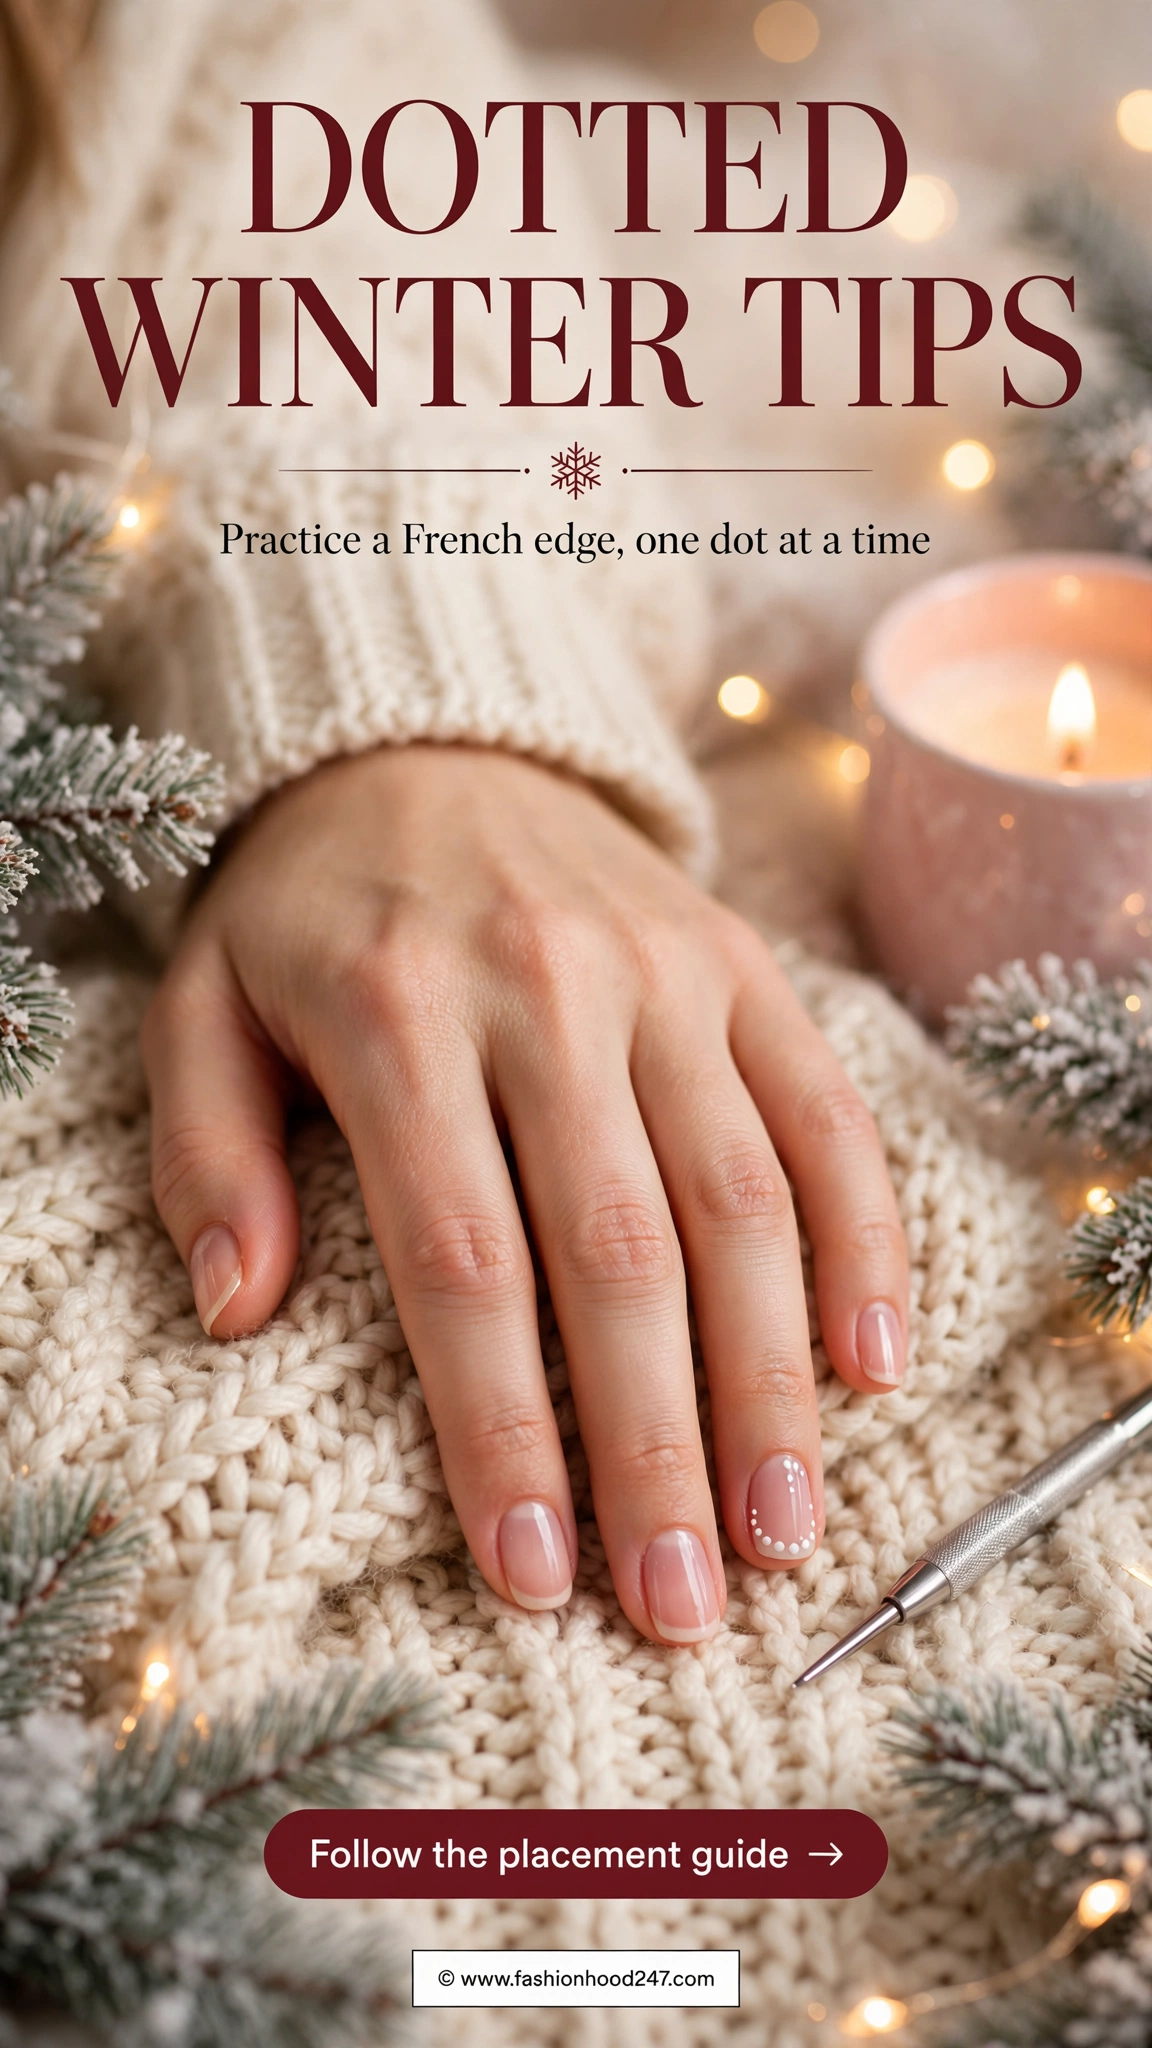
A dotted edge is a useful next exercise because you are still making the same small marks, but now their spacing matters. Keep the dots separate so the result reads as a light dotted tip rather than a solid white French band. A sheer pink base keeps the whole look soft, and the design works on very short nails because the dots sit right at the free edge.
Start with a sheer pink base. On the ring nail, place the first white dot at the center of the free edge, then add one dot toward each side, and another between each side dot and the center. That gives you five points following a shallow arc. Reload the tool consistently and leave a small pink gap between neighboring dots. For a very narrow nail, make a three-dot version with just the center, left, and right, and keep every other nail plain pink until the placement feels manageable.
3. A Small Frosted Corner on Lavender
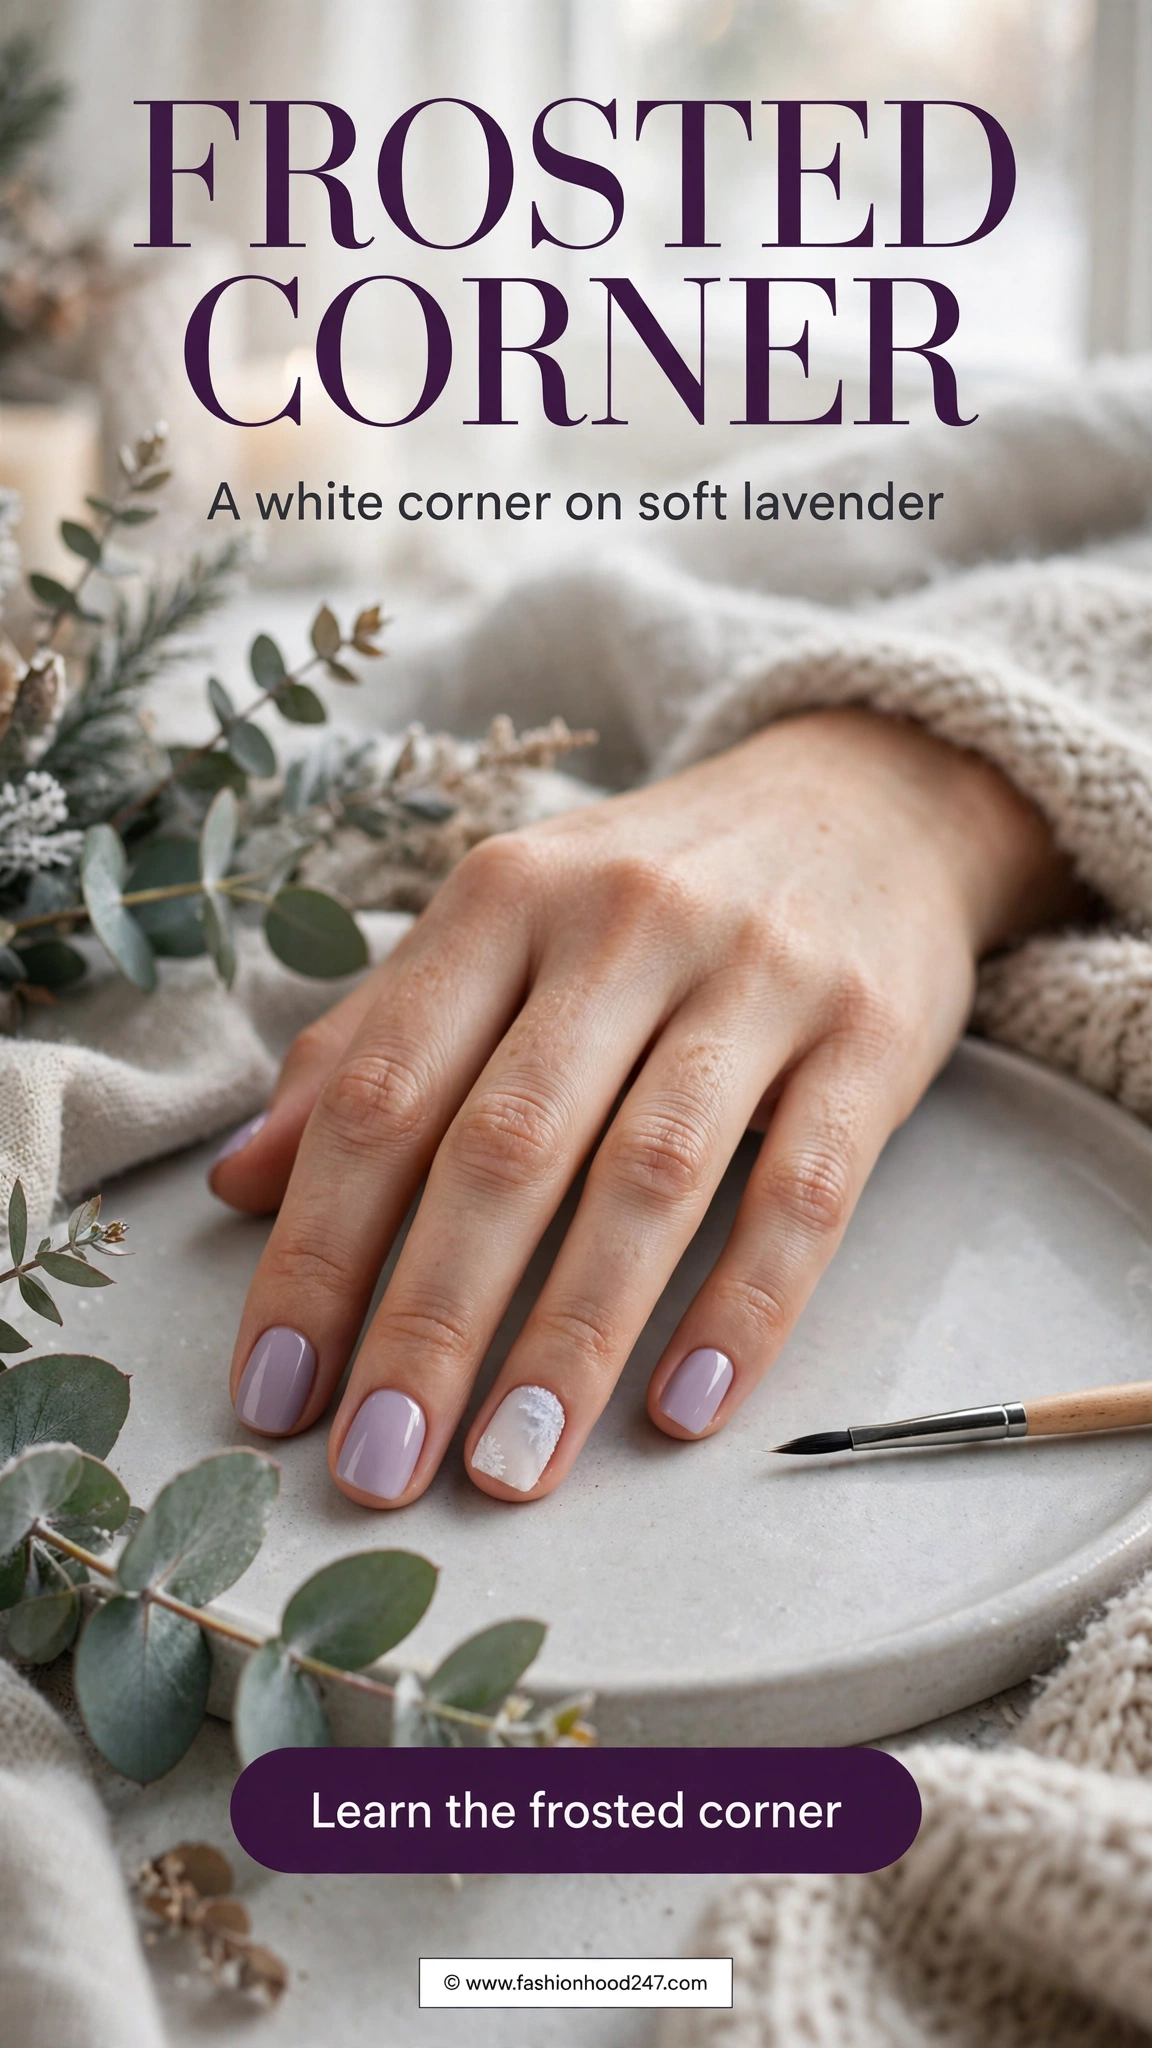
A white corner gives lavender nails a winter detail without asking you to draw a curved French smile line. This design introduces a short straight boundary and a little controlled filling, which is a gentle step up from dots. Most of each nail stays lavender, so the look stays soft even if your first corner is not perfect.
Apply your lavender base and allow it to dry as directed. Use a lightly loaded fine brush to draw a short diagonal across one corner of the free edge, keeping the corner small. Fill the triangle between that line and the outer edge with white polish, using short strokes, and let the first thin layer dry before adding another if the white needs more coverage. If the corner keeps getting larger, draw a shorter diagonal farther out toward the edge on your next try. A smaller triangle gives you less area to fill and preserves more of the base. If you enjoyed our December nail ideas for Christmas week, this frosted corner is a calm January follow-up to those brighter festive looks.
4. A Soft Silver Glitter Fade on Taupe
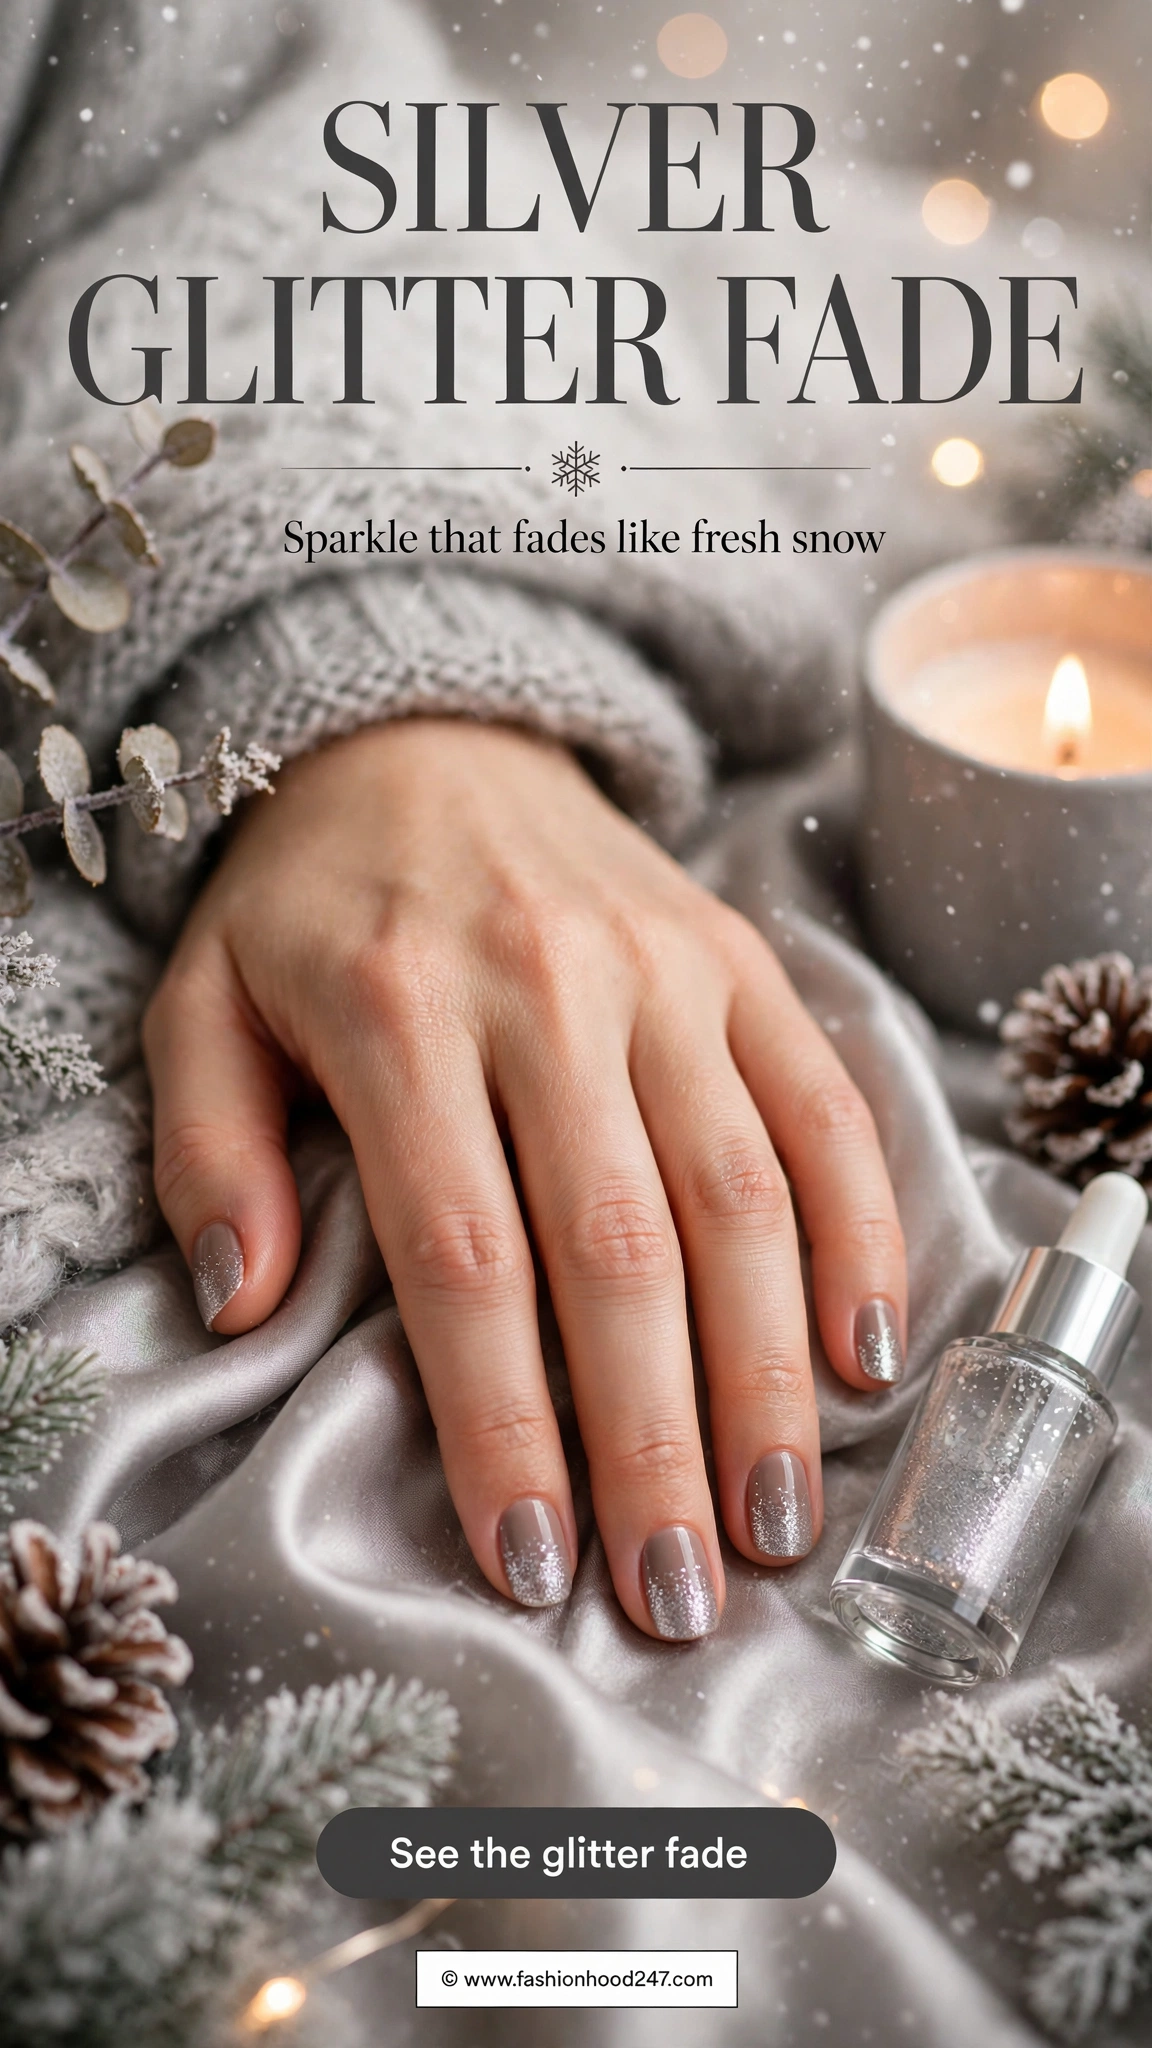
Choose this when a crisp painted edge feels frustrating. The goal is a gradual change in sparkle: more silver at the tip, fewer particles toward the middle, and plain taupe near the base. Because there is no line to draw, a shaky hand never shows, and the glitter hides small mistakes the way a solid color cannot.
Use a silver glitter topper with a clear base over dry mushroom-taupe polish. A full-coverage silver metallic polish will make a solid patch rather than the scattered effect you want. Wipe excess clear polish from the brush against the bottle neck, then lightly dab a little glitter along the free edge of the ring nail. With the smaller amount left on the brush, place a few particles slightly farther down the nail, and stop around the midpoint, leaving the lower half plain. Keep the other nails glossy taupe, and assess the fade before adding another thin application.
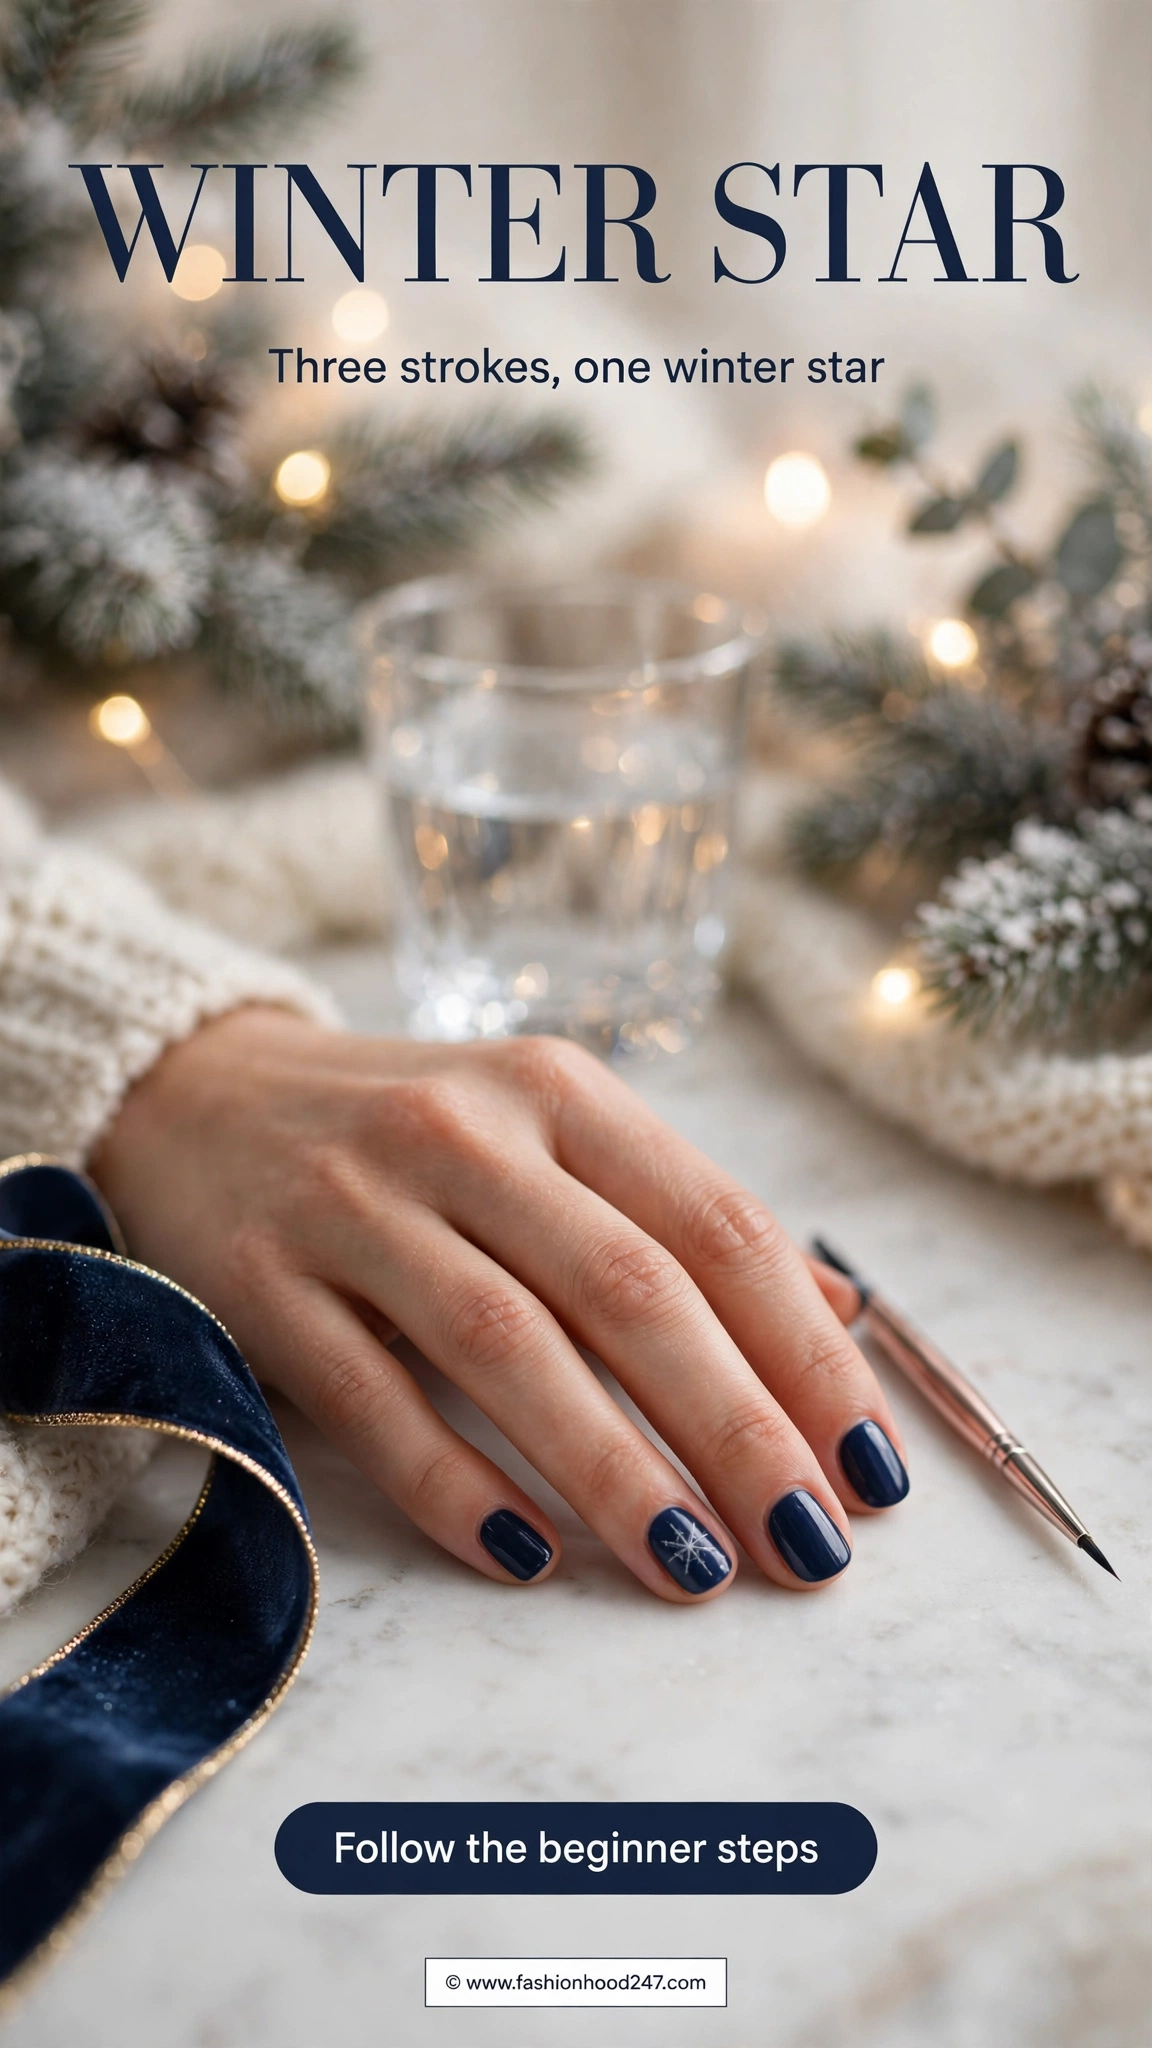
5. A Three-Stroke Winter Star on Navy
This small asterisk gives you a winter-night detail without drawing a branched snowflake. It is the most precise exercise in this guide, so practice the strokes on spare tips before painting your accent nail. January Nail Art for Beginners becomes much easier once you can draw one confident line, and this design teaches exactly that.
On a dry navy practice tip, use a fine liner brush and opaque white polish to draw one short vertical line. On another practice tip, draw a small X, working toward two lines that meet at one center point. Combine the drills on a fresh tip by drawing the vertical line, then one diagonal through its center, followed by the opposite diagonal through the same point. Leave navy visible around all six rays, and once the shape feels manageable, repeat one small star near the center of your ring fingernail. Rest your wrist on the table and use only enough pressure to keep the bristles touching the surface.
6. Snowflake Accent on Icy White
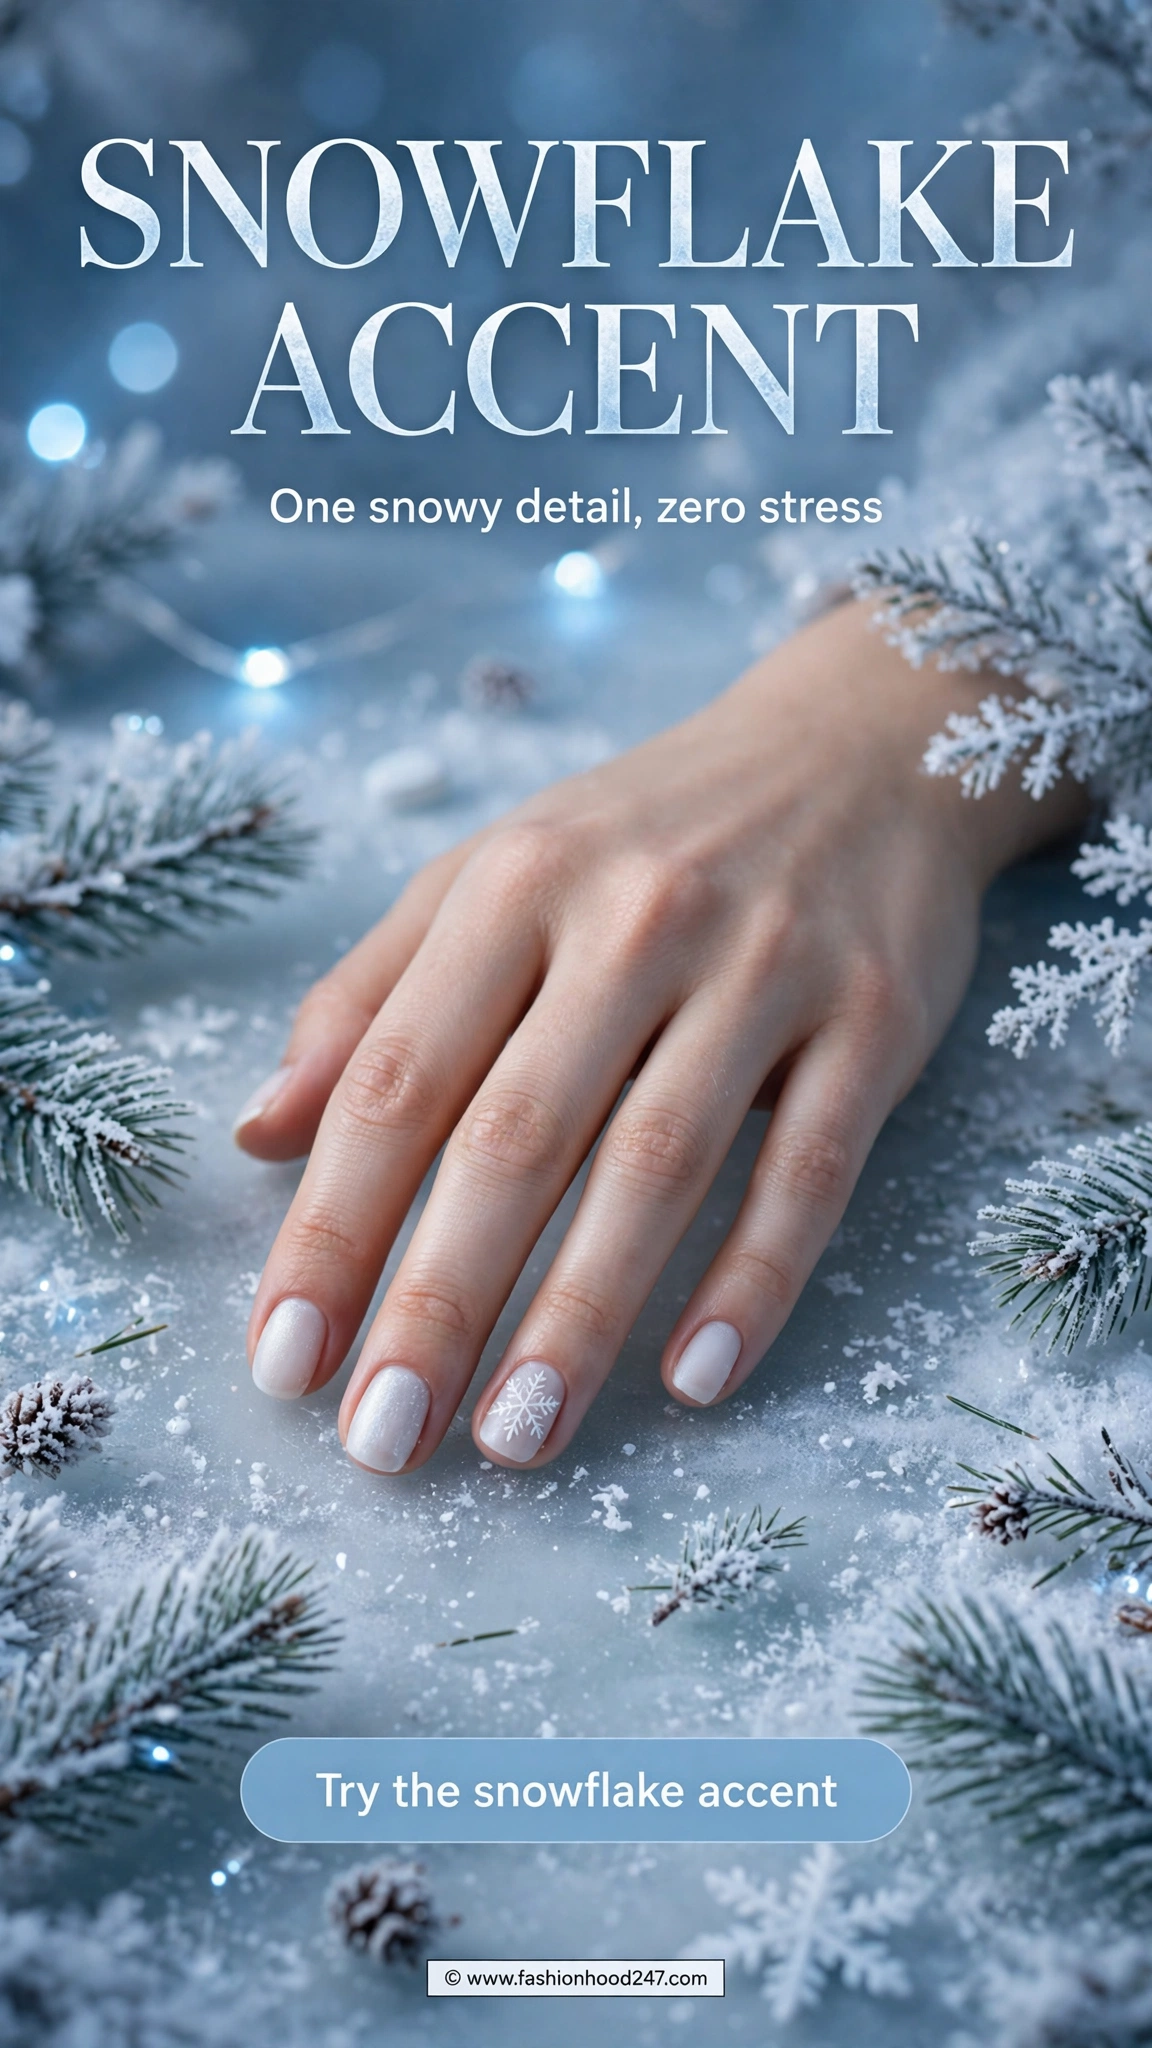
One delicate snowflake on an icy-white base is all this design needs, and that is what makes it perfect for a quiet January day. The white-on-white look is soft rather than stark, and the single accent nail means you only have to draw the snowflake once. Keep the rest of the nails plain and glossy so the flake gets all the attention.
On the ring nail, paint a tiny white dot as the center point. Draw six short straight lines radiating out from that dot, spacing them evenly. Then add a small dot at the end of each arm and one tiny cross-bar near the tip of the arm if your hand feels steady. Keep the flake small, about one-third of the nail, so it does not run into the edges. Practice the six lines on a practice tip first until the spacing looks even.
7. Cozy Knit Pattern on Cream
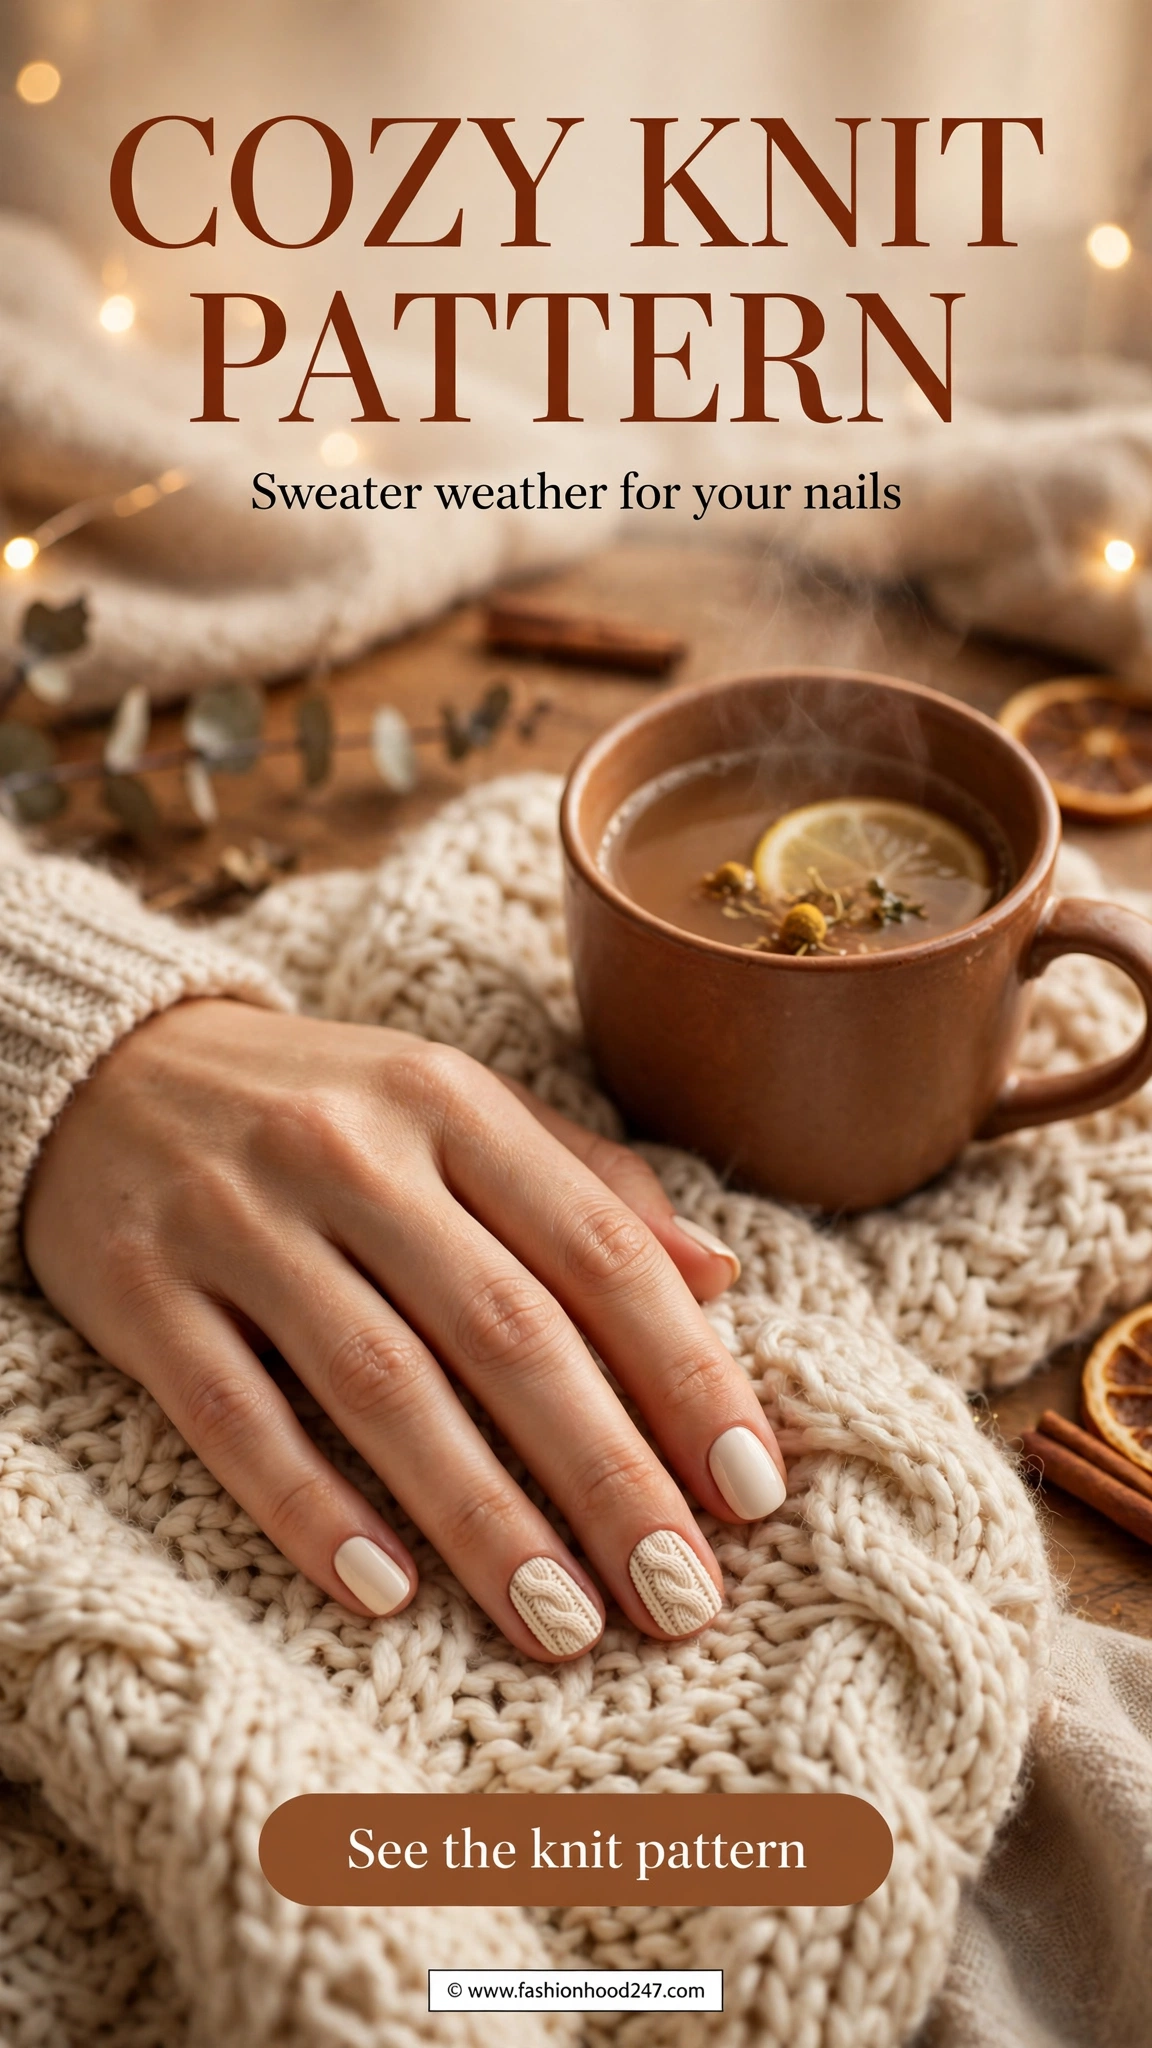
A knit pattern is the most textural design in this article, and it is also a good way to learn how thin lines behave on a cream base. The design uses short dashes, zigzags, and dots in a repeating pattern, so you can build it up one column at a time rather than planning the whole nail at once. The cream background keeps the look soft and wintery.
Start with a cream base. On the ring nail, draw a thin vertical line down the center, then add a zigzag line beside it using short diagonal strokes. Add a row of tiny dots along the other side, then repeat the pattern across the nail until it looks like a knitted swatch. If the zigzag feels too fiddly, start with just the center line and the dots, and add the zigzag only when the first two elements feel steady.
8. Frosted Pine on Forest Green
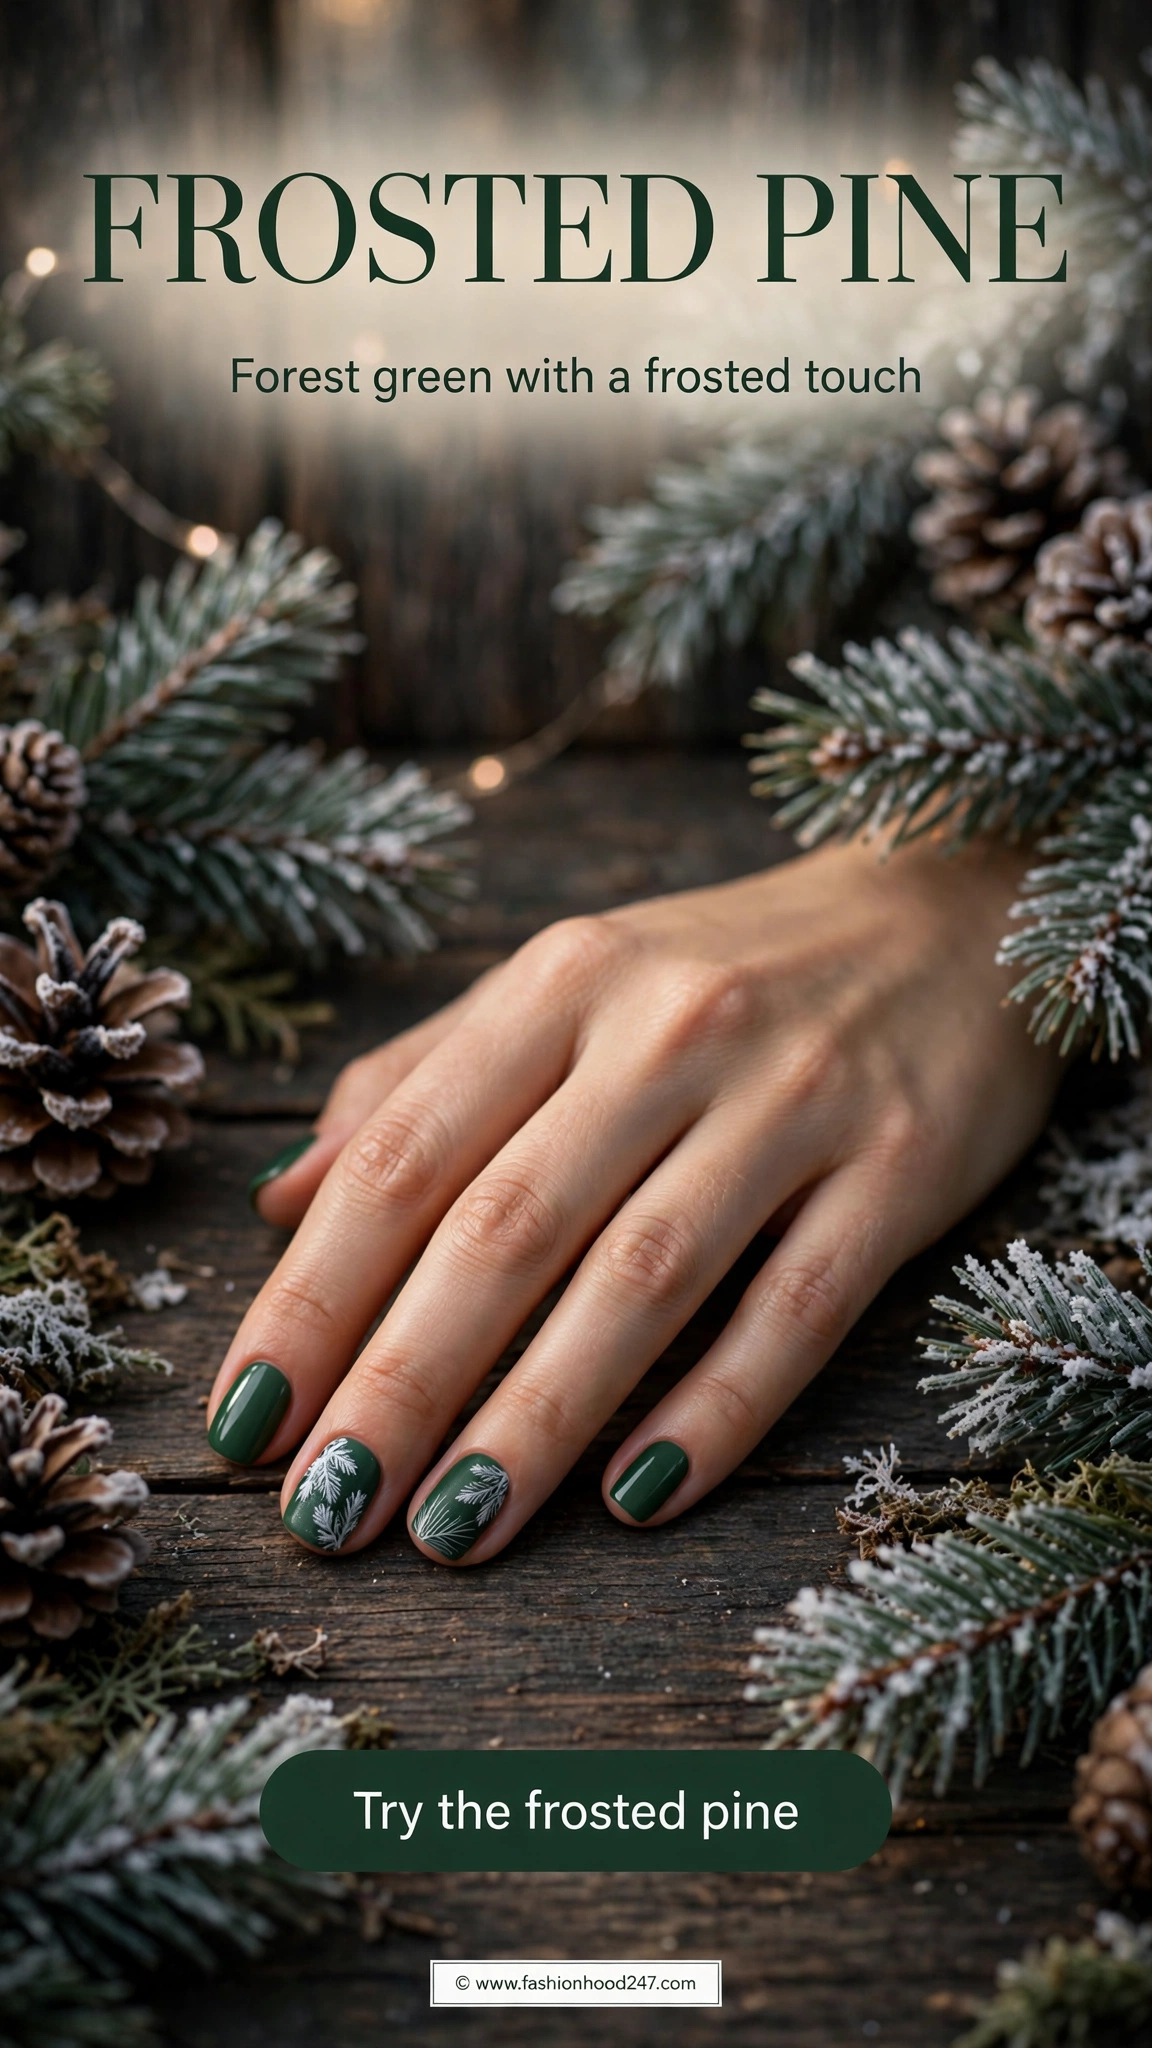
A frosted pine design gives you a bold winter accent without covering the whole nail in detail. The forest green base creates the wintry effect on its own, so the decoration only needs to suggest the shape of a pine branch. Keep the decoration small and near the free edge, and the dark base makes the whole nail look polished even before the top coat.
Start with a forest green base. On the ring nail, draw a thin vertical line in white or a lighter green from the center toward the tip. Add short diagonal lines branching off each side of that center line, getting shorter toward the top, until the shape reads as a simple pine. Finish with a few white dots along the branches to suggest frost. If the branches look messy, simplify the shape into a single small tree on the ring finger only and leave the other nails plain green.
9. Winter Berry with Gold Dots
A berry base with gold dots is a low-effort way to add warmth to a January manicure. The berry color does most of the work, so the gold dots only need to be small and spaced apart. If you want a festive look without red, this deep berry shade works well, and you can reuse the dotting tool you used for the snow dots earlier.
Apply a berry base and let it dry as directed. On the ring nail, use the small ball of the dotting tool to place five gold dots in a loose arc near the free edge, keeping the dots small and separate. Add a second tiny dot of gold at the cuticle if you want more warmth. If the gold dots look too sparse, add two more dots toward the sides, but leave berry visible between them so the design stays airy.

10. Icy Blue Ombré with White Tips
An ombré is a good way to practice blending because the effect comes from soft layers rather than a precise edge. The icy blue base gives the white tips a clean contrast, and a light fade at the tip makes the manicure look polished even before you add the white. Keep the white tips thin so the gradient stays subtle.
Apply an icy blue base and let it dry as directed. Using a sponge or the brush tip, dab white polish onto the tips in light repeated taps, letting the white fade toward the center of the nail. Let the first thin layer set before adding another to deepen the white at the tips while keeping the fade soft. If the ombré line looks too hard, lightly dab more blue over the boundary to soften it, then seal with a compatible top coat once the white is dry.

11. Snowman Accent on Sky Blue
A snowman accent is the most playful design in this article, and it works because the sky blue base gives the white shape a clear outline. Keep the snowman small and on the ring finger only, so the design reads as a cute January accent rather than a cartoon. A few black dots and a short orange line give the snowman its face without needing detailed painting.
Start with a sky blue base. On the ring nail, use the dotting tool to place two white dots, one larger at the bottom and one smaller on top, to form the snowman’s body and head. Add two tiny black dots for the eyes, a short orange line for the nose, and two tiny black dots for the buttons. Keep the snowman centered and small, about one-third of the nail, so it does not crowd the edges.

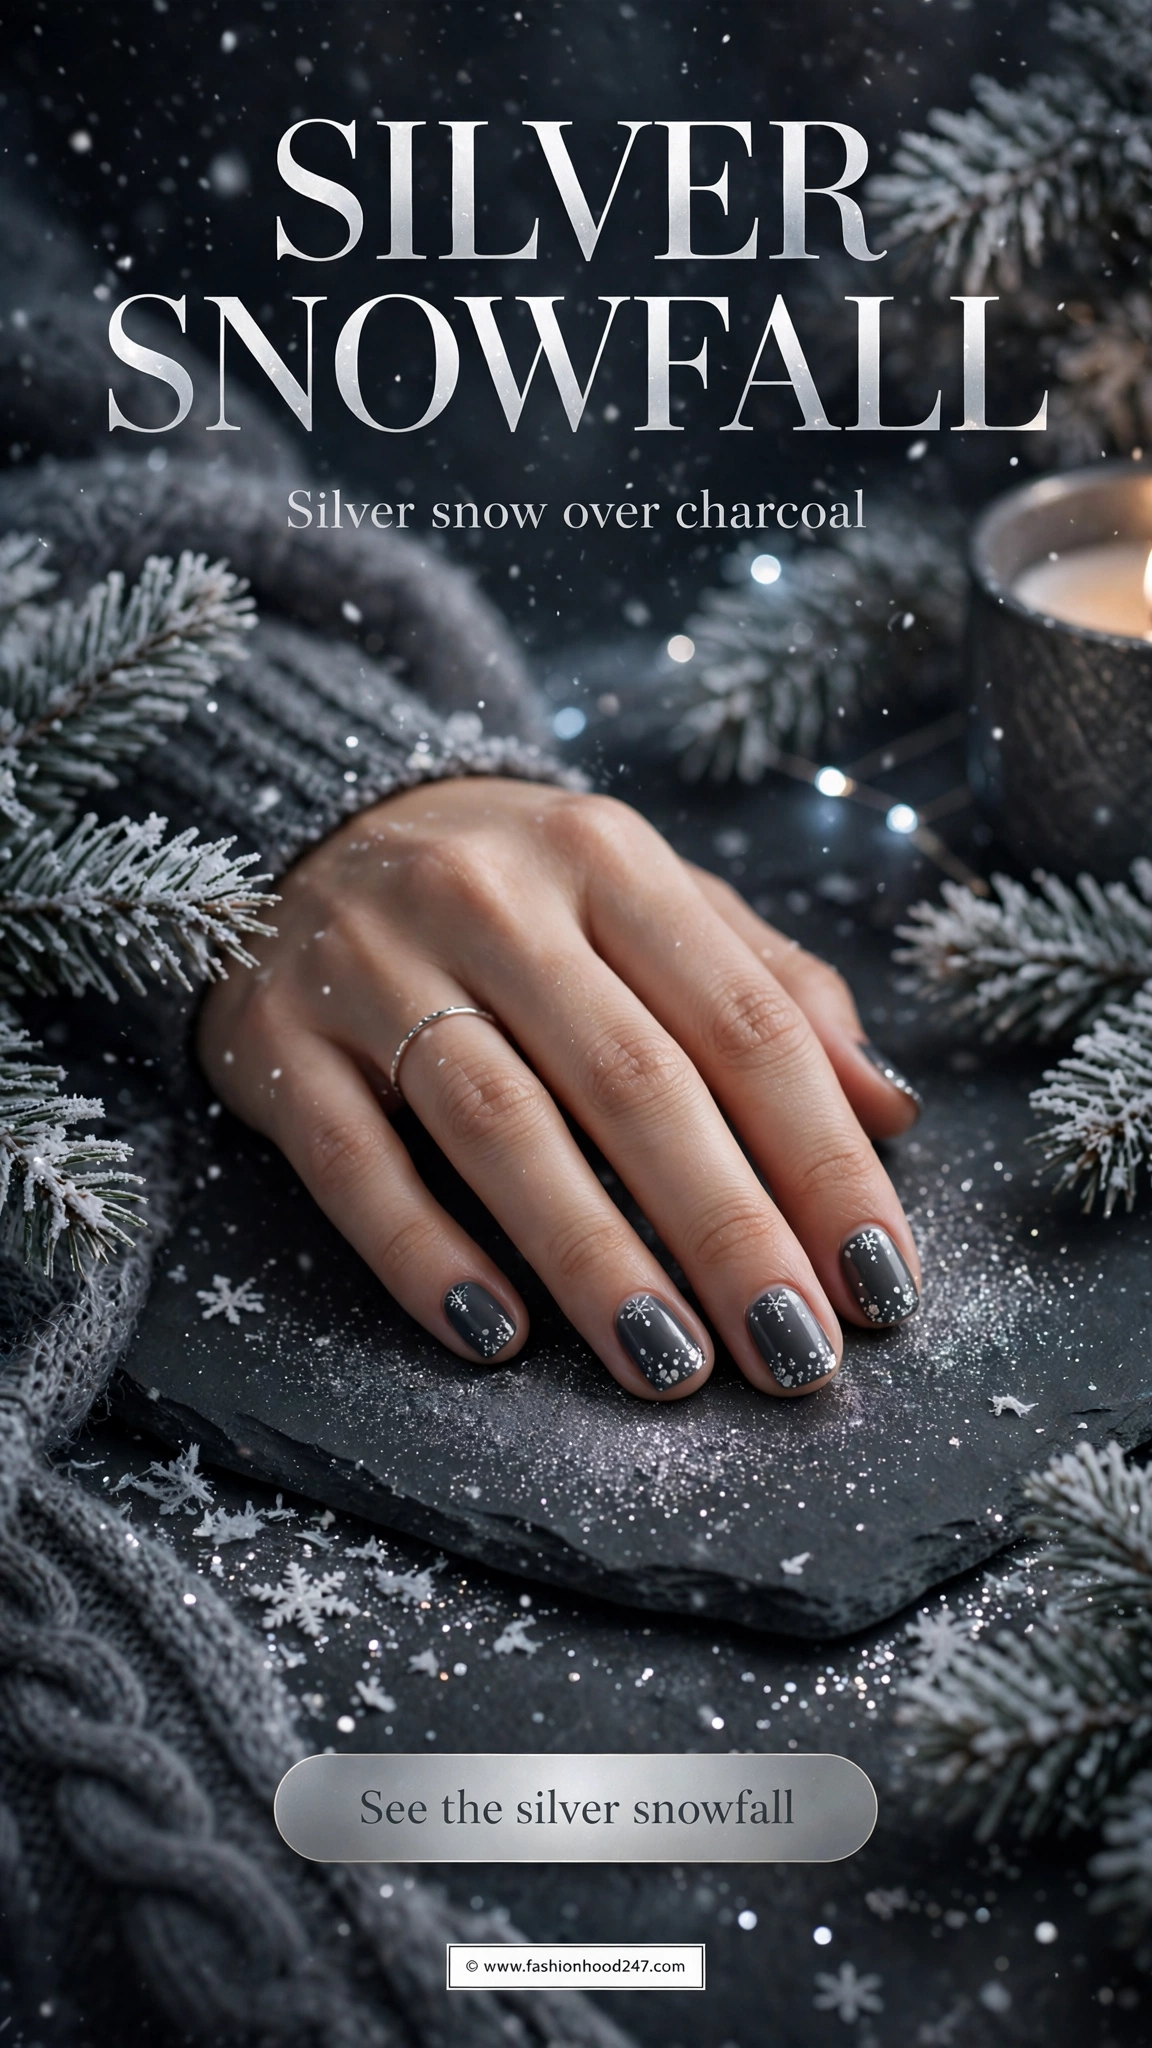
12. Silver Snowfall on Charcoal Grey
Silver dots on charcoal grey create a snowfall effect that is easy to make and looks polished. The dark grey base gives the silver dots a clear contrast, and because the dots are scattered, you do not need to plan their positions. This is a good design for January nail art for beginners who want a winter look without linework.
Apply a charcoal grey base and let it dry as directed. On the ring nail, use the small ball of the dotting tool to place silver dots in a scattered pattern, varying the dot sizes slightly. Keep the dots separate and leave grey visible between them. If the silver dots look too sparse, add a few more toward the sides, but leave the design airy rather than crowded.
13. Candy Cane Stripes on Classic Red
Diagonal white stripes on a classic red base give you a festive January look with just a few straight lines. The red base does most of the visual work, so the stripes only need to be thin and evenly spaced. If you want a festive finish without red glitter, this is a good way to keep the manicure bright and wintery.
Apply a classic red base and let it dry as directed. On the ring nail, use a fine brush to draw three thin diagonal white stripes from one side of the nail to the other, keeping the spacing even. If the stripes look uneven, reduce the design to two stripes or make them shorter so they do not reach the edges. Seal with a compatible top coat once the white is dry.

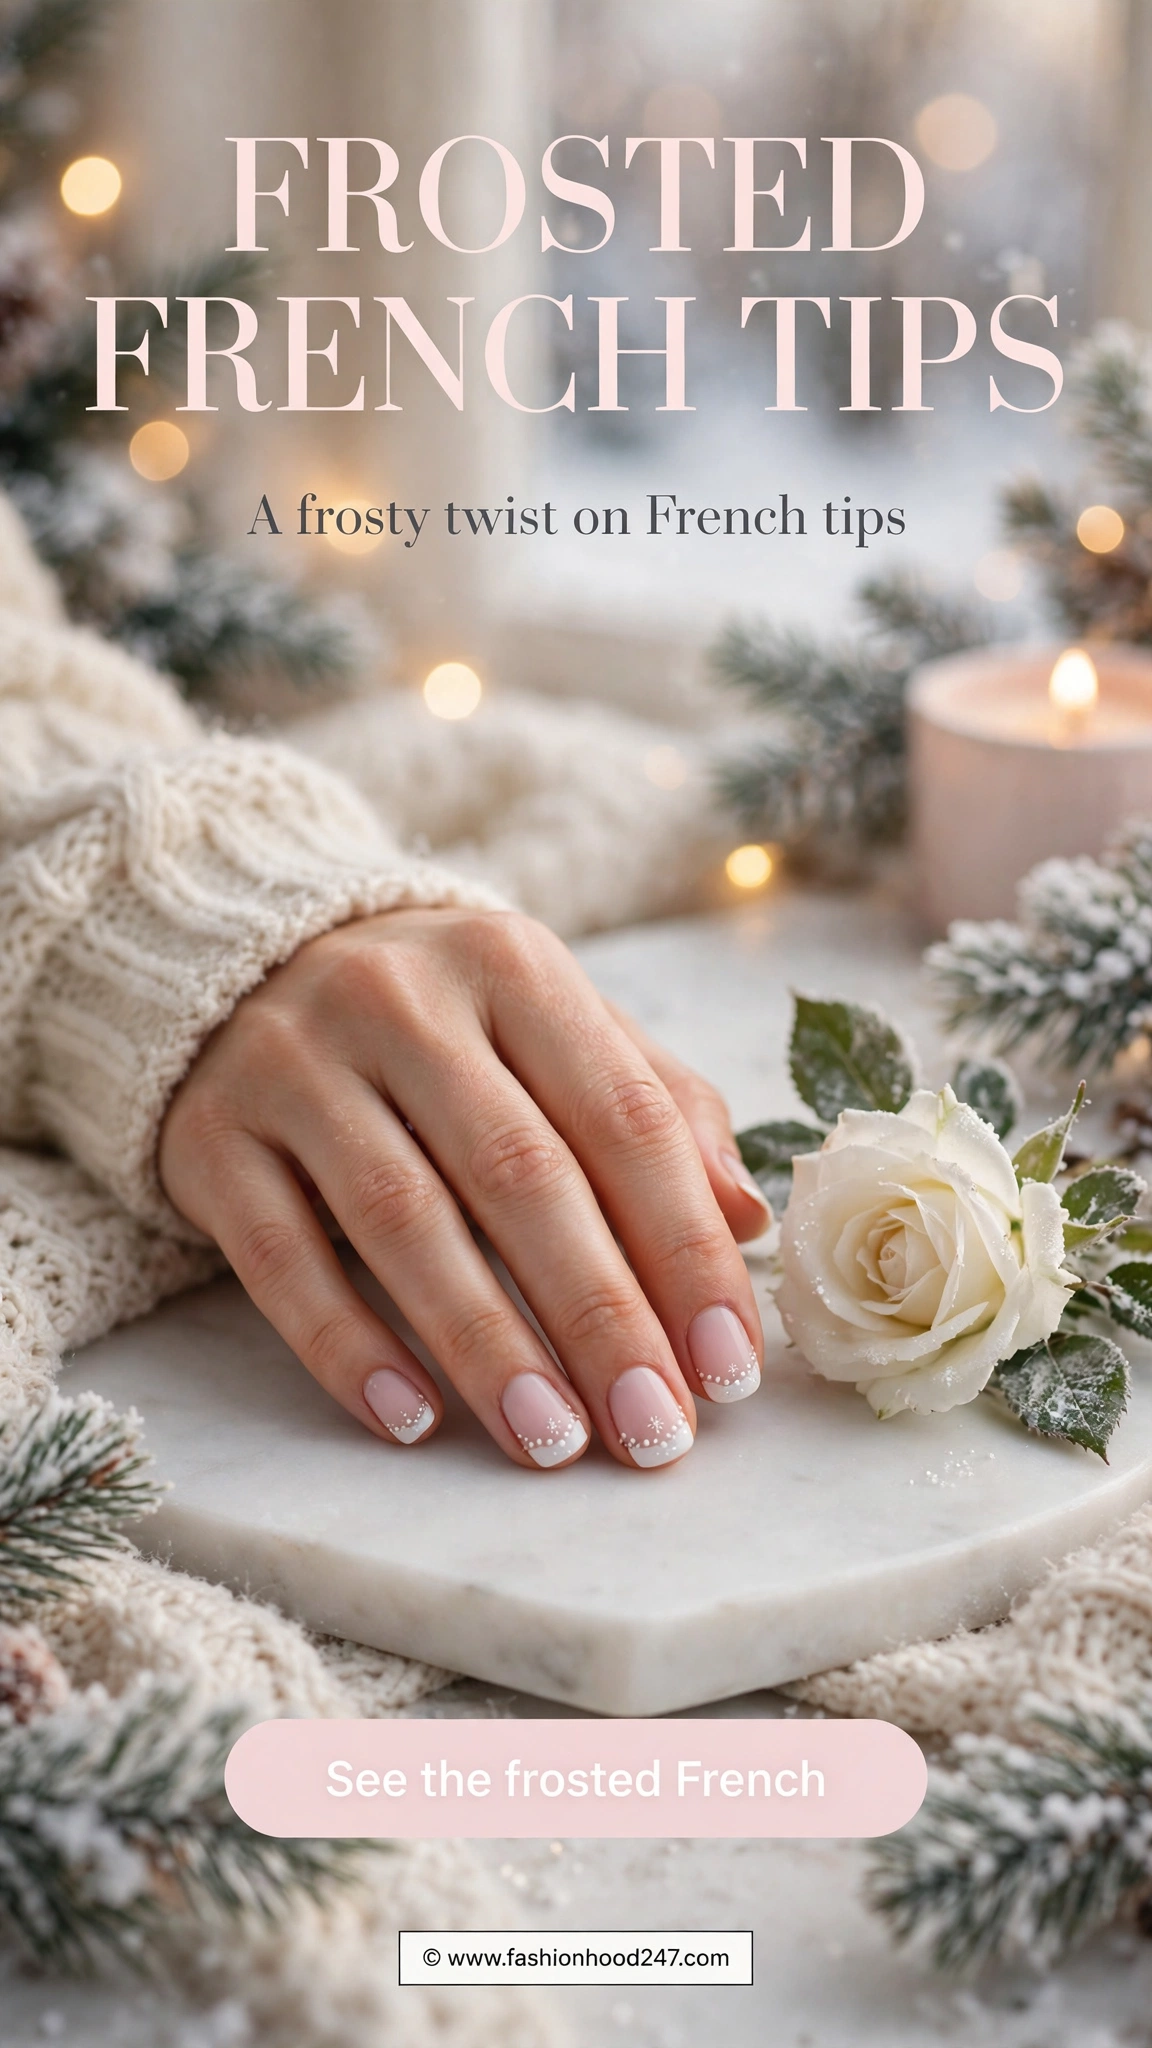
14. Frosted French Tips on Pale Pink
A frosted French tip is a soft way to practice the classic French smile line without needing a perfect curve. The pale pink base gives the white tips a gentle contrast, and a light frosted effect makes the tips look polished even if the smile line is not perfectly even. This is a good design for January nail art for beginners who want a classic look with a winter twist.
Apply a pale pink base and let it dry as directed. On the ring nail, use a fine brush to draw a thin white line across the tip, following the natural curve of the free edge. Fill the tip with white polish using short strokes, and let the first thin layer dry before adding another if the white needs more coverage. If the smile line looks uneven, make the tip thinner so the curve is less noticeable, and keep the other nails plain pink until the line feels steady.
15. Midnight Snowflakes on Deep Plum
Deep plum with silver snowflakes is a good way to add contrast to a January manicure. The plum base gives the silver snowflakes a clear outline, and because the snowflakes are small and on the ring finger only, the design reads as a winter accent rather than a pattern. If you want a darker look without black, this deep plum shade works well.
Apply a deep plum base and let it dry as directed. On the ring nail, use a fine brush to draw a tiny silver snowflake with six short straight lines radiating from a center point. Add a small silver dot at the end of each arm and one tiny cross-bar near the tip of the arm if your hand feels steady. Keep the snowflake small, about one-third of the nail, so it does not run into the edges.

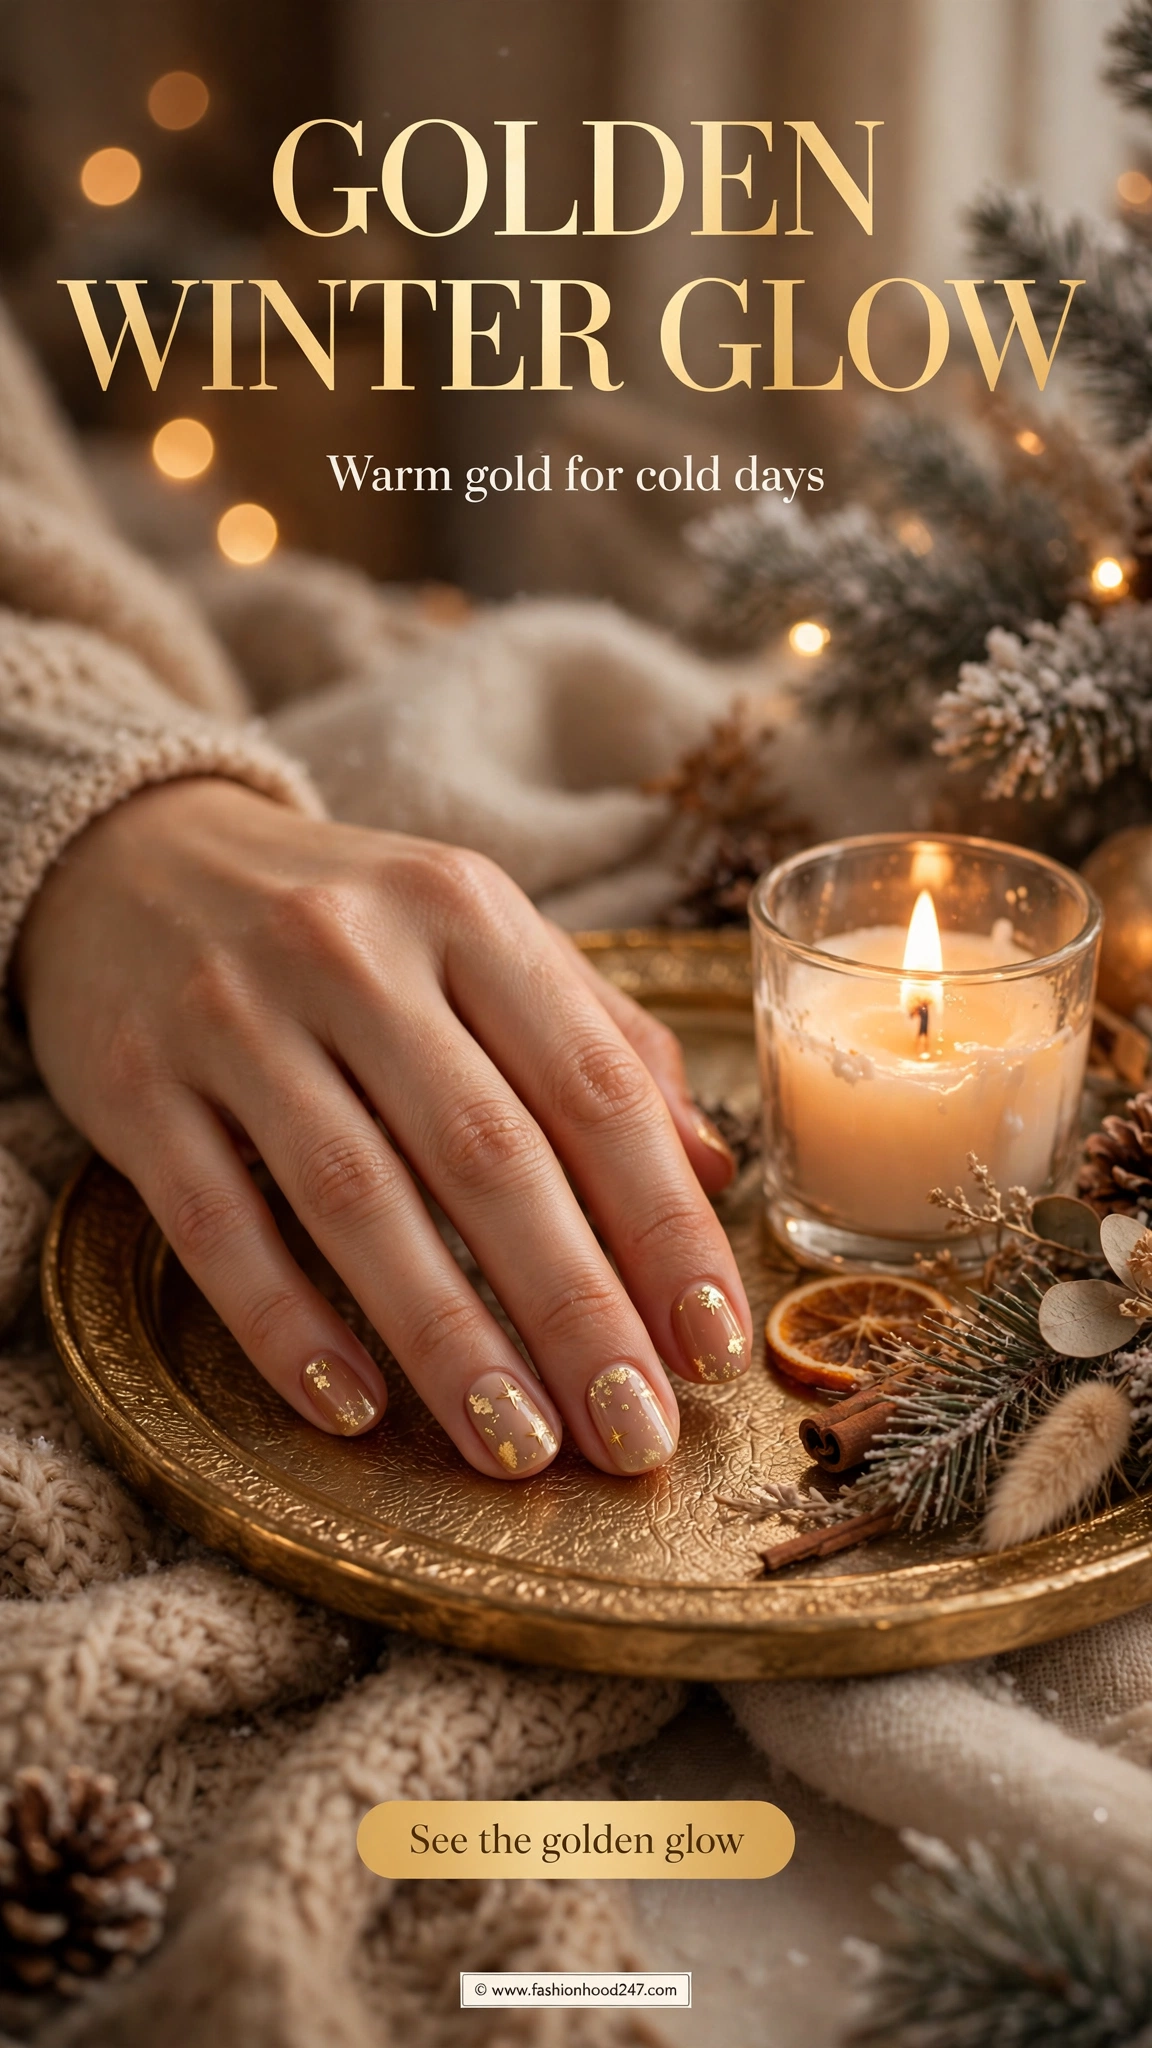
16. Golden Winter Glow on Warm Nude
A warm nude base with gold dots is a subtle way to add warmth to a January manicure. The nude color does most of the work, so the gold dots only need to be small and spaced apart. If you want a warm look without red, this nude shade works well, and you can reuse the dotting tool you used for the snow dots earlier.
Apply a warm nude base and let it dry as directed. On the ring nail, use the small ball of the dotting tool to place five gold dots in a loose arc near the free edge, keeping the dots small and separate. Add a second tiny dot of gold at the cuticle if you want more warmth. If the gold dots look too sparse, add two more dots toward the sides, but leave nude visible between them so the design stays airy.
Styling Tips for January Nail Art for Beginners
Keep your base coat and top coat consistent across all ten nails so the manicure wears evenly. A thin top coat over the design protects the dots and lines from chipping, and reapplying it after two days extends the wear. If you are short on time, paint only the ring finger with the design and keep the other nails plain, because a single accent still reads as a complete manicure. For more festive inspiration, try our Christmas nails ideas for festive looks, and for a bold color choice, see our red New Year nails for a strong January statement.
Use a dotting tool with two sizes so you can switch between small and large dots without changing tools. A fine brush with a short bristle gives you more control than a long liner brush, and wiping the brush between strokes keeps the lines thin. If you make a mistake, clean it with a dry brush and a little remover rather than repainting the whole nail, because a small correction is faster than starting over.
Final Thoughts
January Nail Art for Beginners is about small designs, short nails, and simple tools. Start with the snow dots, then try the dotted tips, and work your way up to the star and the snowflake when your hand feels steady. Each design in this article uses the same two tools, so you can practice them in any order and repeat the ones you enjoy.
Pick one design, paint it on your ring finger, and wear it for a few days to see how it holds up. If it chips, add a thin top coat and try again. The goal is not a perfect manicure, but a January nail look you enjoy wearing, and every design here is forgiving enough to help you get there.